
Indoor Lighting Calculations Menu Options
1-Edit Room
a- Press the Icon "Insert New Room" and Room 1- Floor Plan will open And you can use the Room Editor as explained before.

b- Press the Icon "Load DWG or DXF File" and a window of ' Welcome to the Cad Drawing Import" will open

c- Press "Next" and Then "File selection" Window will open
Press Browse and select file you need to Import

d- Press "Next" and Then "Specify Measurement Units" Window will open

e- Press "Next" and Then "Defining the Planning Origin" Window will open

f- Press "Next" and Then "Finishing the Wizard for Importing a CAD drawing" Window will open and then press "Finish"

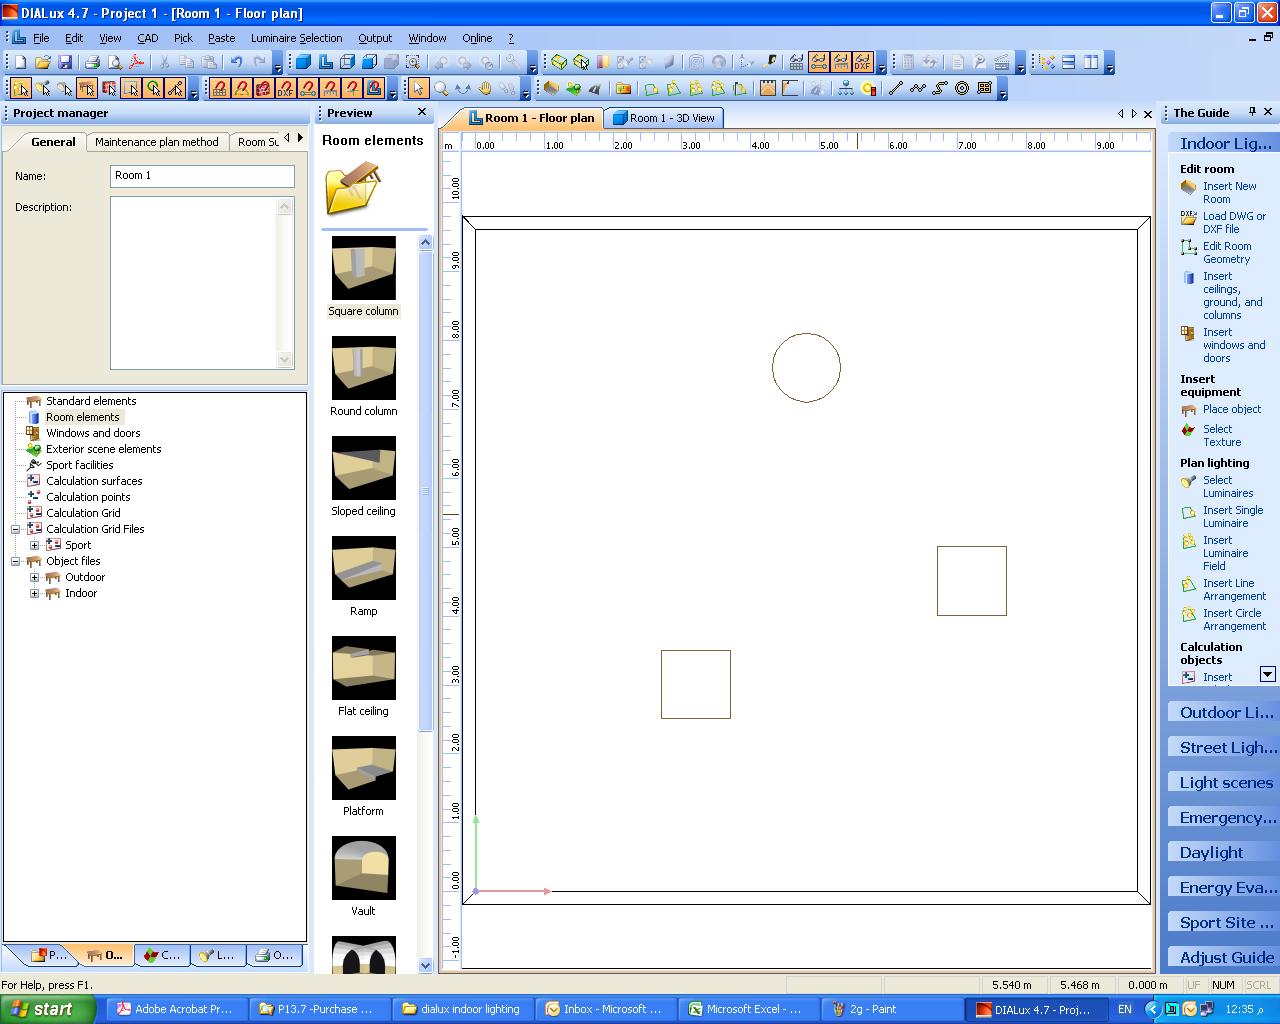
g- Press the Icon "Insert Ceiling, Ground and Columns" and the Room elements Menu will appear

h- Drag the Room element that you want to the room – Floor Plan
i- Press the Room 1- 3D View Menu to see a 3 dimension view for what you drag into the room floor plan


k- Drag the windows and doors element that you want to the room – Floor Plan

L- Press the Room 1- 3D View Menu to see a 3 dimension view for what you drag into the room floor plan

a- Press the Icon "Insert Equipment" and the Standard Equipment Menu will appear
Drag the Standard Equipment element that you want to the room – Floor Plan
Press the Room 1- 3D View Menu to see a 3 dimension view for what you drag into the room floor plan

Drag the Texture element that you want to the room – Floor Plan
Press the Room 1- 3D View Menu to see a 3 dimension view for what you drag into the room floor plan

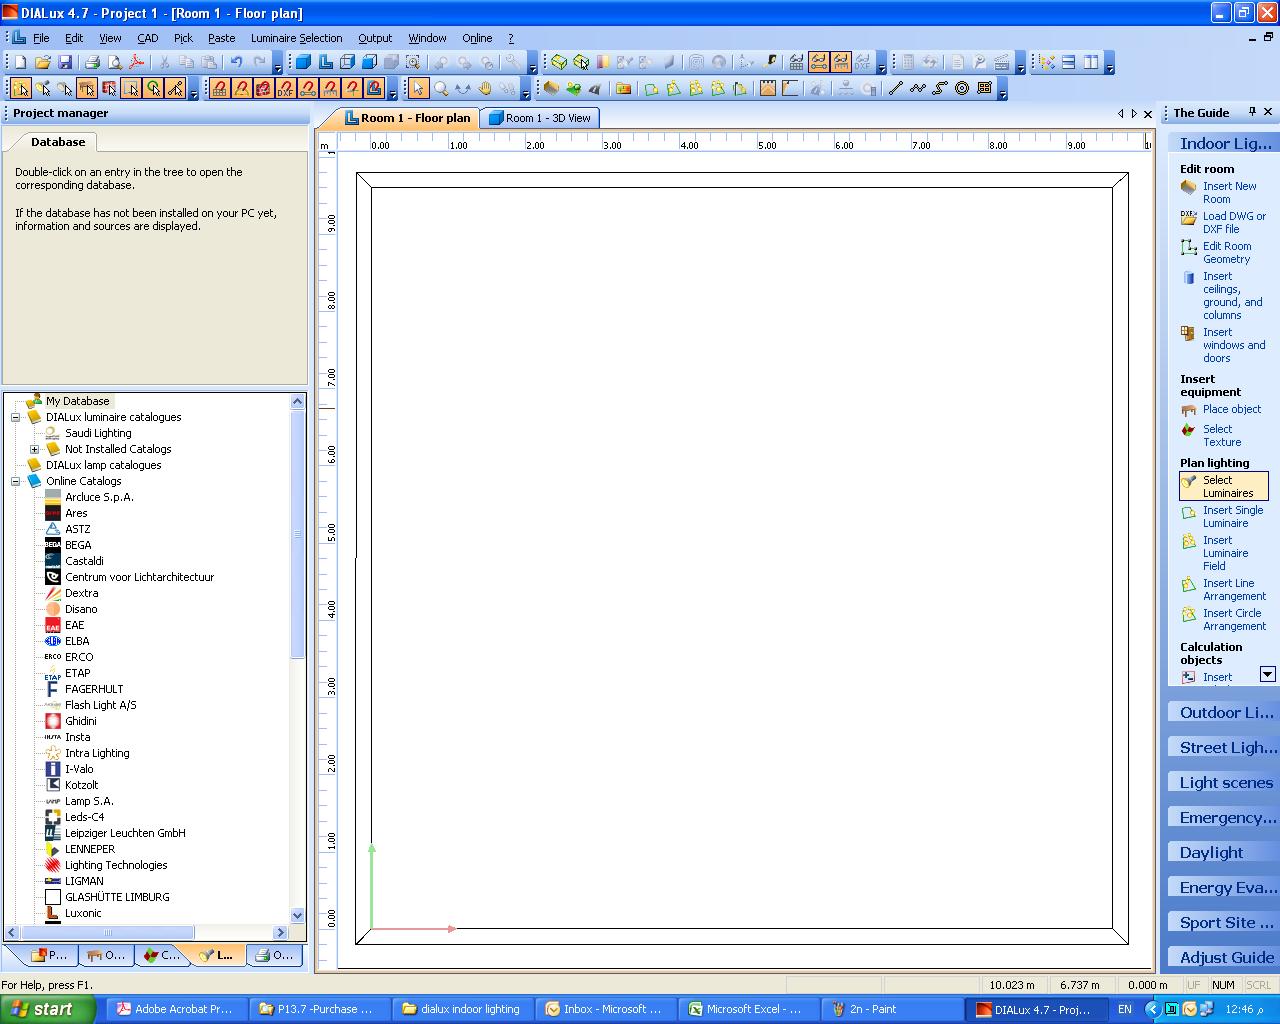
3-Plan Lighting
a- Press the Icon "Select Luminaries" and the Database Menu will be appear to select the Luminaries you want
b- the Icon "Insert Single Luminaire" and a single Luminaire from the selected type will be inserted in the Room floor plan


d- Press the Icon "Insert Line Arrangement" and a Line of Luminaries from the selected type will be inserted in the Room floor plan based on the entered design data before

e- Press the Icon "Insert Circle Arrangement" and a Line of Luminaries from the selected type will be inserted in the Room floor plan based on the entered design data before

4- Calculation Objects
a- Press the Icon "Insert Calculation Surfaces" the Calculation Surfaces Menu (on which you can calculate for a required Lux level "will appear
Drag the Calculation Surface that you want to the room – Floor Plan
Press the Room 1- 3D View Menu to see a 3 dimension view for what you drag into the room floor plan
And I will explain this point in detail latter

b- Press the Icon "Insert Calculation Points" the Calculation Points Menu will appear
Drag the Calculation point that you want to the room – Floor Plan
Press the Room 1- 3D View Menu to see a 3 dimension view for what you drag into the room floor plan
And I will explain this point in detail latter


No comments:
Post a Comment